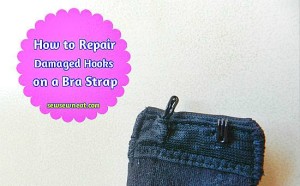
 How many times has this happened to you? You take it out of the wash and it looks like this….damaged. I always try to remember to hook the bra strap together before I wash it. I also try to remember to put it in something like a mesh bag to
keep it from being damaged. However, there are just some days that you forget to do these things and just toss it in the dirty clothes.
Of course, on the days that you forget to do those things….this is what happens to those expensive bras that you purchase. And, expensive they are! Normally, I toss them in the trash. Not sure why it hasn’t crossed my mind to repair them instead of throwing money in the thrash. Plus, I sew. So, I put that skill to the task for this bra. It’s quite simple. All you will need are hooks to replace the damaged one(s) and a needle and thread.
Items Needed:
- Hooks and Eyes Replacements Pack
- Needle and Thread
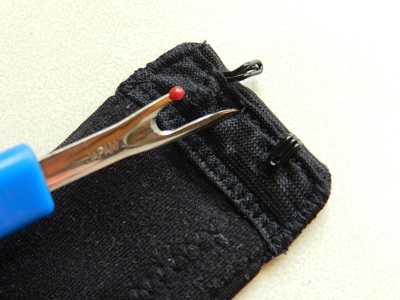
- Seam Ripper
Directions:
Using a seam ripper, take the seam out that covers the hook. I only ripped the seam that covered the damaged hook and left the seam in tact that covered the hook that was not damaged.
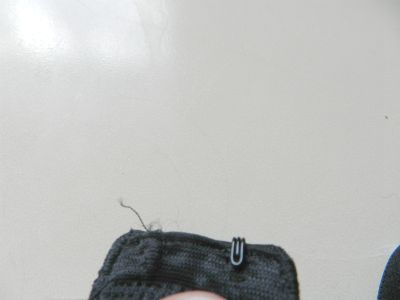
Once the seam is out, remove the damaged hook.
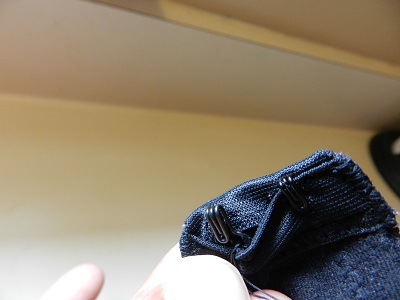
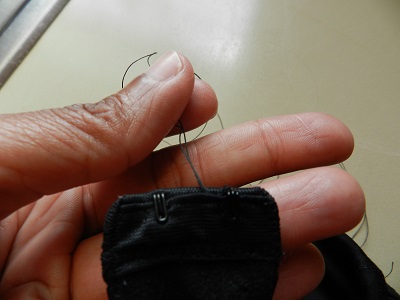
Insert a new hook. Sew the hook in place. The strap is thick enough for allowing space to sew the hook without the thread going through the material. That way, it’s like a hidden stitch.
If it seems difficult to sew the hook into such a tight space, you can pull the material back that covers the hook and pin it. It will make it easier to sew down.
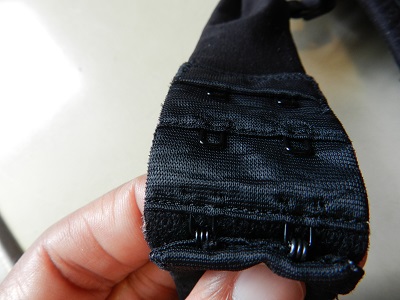
Put material back in place to cover the bottom of hook. Using the needle and thread, sew the opening together at top.
Perfect! The hook works. Saved myself a ton of money. The hooks were really inexpensive. I bought them at Jo-Anne Fabric and Craft Store. They were originally priced at $2.99. After coupon and tax, they were $1.90 for a box of 14. Trust me, this is not a difficult task. It’s worth saving the money on replacing the hooks.
Leave a Reply