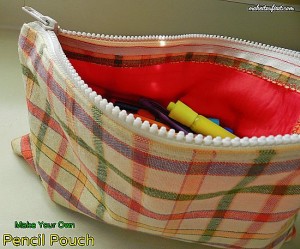
 My oldest child needs an extra large pencil pouch for carrying her stuff to school. The amount of supplies that are needed by kids today is so outrageous. I don’t even try to purchase a small size pouch for her. Normally, I would buy a money
bag for her to use as a pouch. However, this year, I decided to make one. It turned out nicely. It’s been awhile since I’ve messed with a zipper, but I made it work. Plus, I used old place mats to make the pouch….saving money anyway I can.
Items Needed:
- two pieces of 14×9 material
- two pieces of 14×9 material to line pouch
- thread
- 12 or 14 inch zipper
Directions:
First, determine what size pouch that you will need. I need a pouch the size of 12×7 inch or so. So, using some old place mats, I cut out two pieces of outer fabric the size of 14×9 to take into account the seams and for possible mistakes. Then, cut out another set of material, the same size, to use as lining for the inside. I’m using this red material for lining that I found at home. If you need a smaller or larger pouch, just make the dimensions smaller when cutting out material.
Pin lining to wrong side of outer material. Sew all the way around.
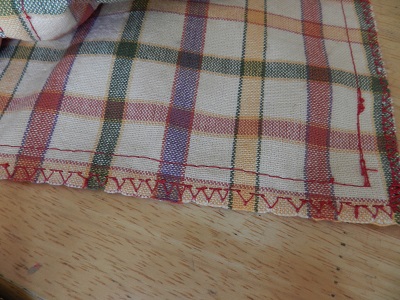
The red material that I am using for the lining ravels a lot. So, I am using a stitch to secure the ends. You can skip this step if the material does not ravel.
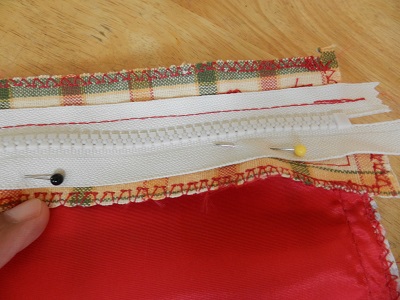
Pin the zipper to the outside fabric of the material. I pinned near the first seam instead of the edge. Both, would work though.
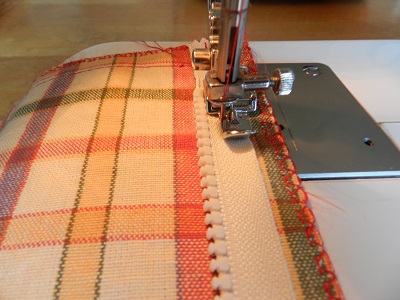
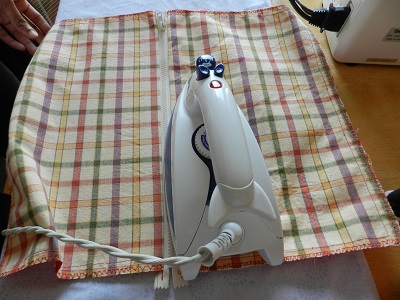
Using a zipper foot, sew the zipper down.
Then, pin the other side of the zipper to the outside fabric of the other piece of material. Sew down.
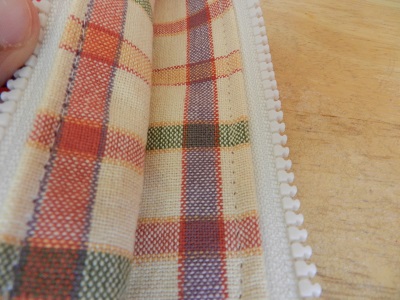
Open pieces of fabric. Press down fabric near the zipper. Then, topstitch along the outer fabric near the zipper. You can see topstitching in the picture below.
Notice the topstiching near the zipper.. It helps to keep the zipper firmly in place. After topstitching, unzip the zipper halfway. Match the two right sides of the outer fabric pieces together. Leave the zipper open about halfway so that you will be able to turn pouch inside out. Try to make sure that the zipper teeth match up together. Sew down the three sides. Just for your info, I was not be able to sew over the teeth, but got as close to the edge as possible.
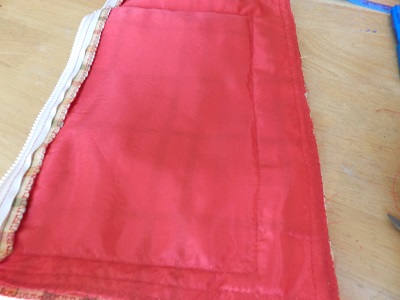
Just wanted to share a mistake that I made right here. Looking at the pic, I had to sew a smaller rectangle shape on the inside because the pouch was too big. I cut my fabric originally at 15×10. That was too big for the size pouch that was needed. So, I made it smaller and cut the excess fabric from around it. It caused me to have to secure the edges, again. (double work!)
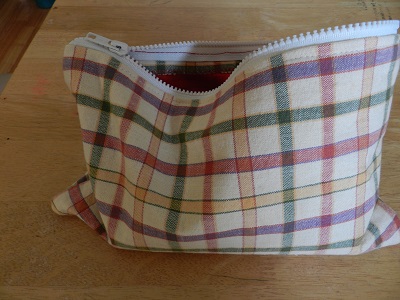
Since, the zipper part was left open halfway while sewing down the sides, it made it easy to turn over. Love this color!
Just wanted to share that due to my zipper being a little too long, I secured it down on the inside by using a needle and thread to pin it to the side. Worked perfectly. Loving this pencil pouch!
Leave a Reply